Replace Dryer Drive Belt With a Technician Workflow
Learn how to replace dryer drive belt assemblies safely, verify the failure, route the belt correctly, and test the repair like a field technician on site.
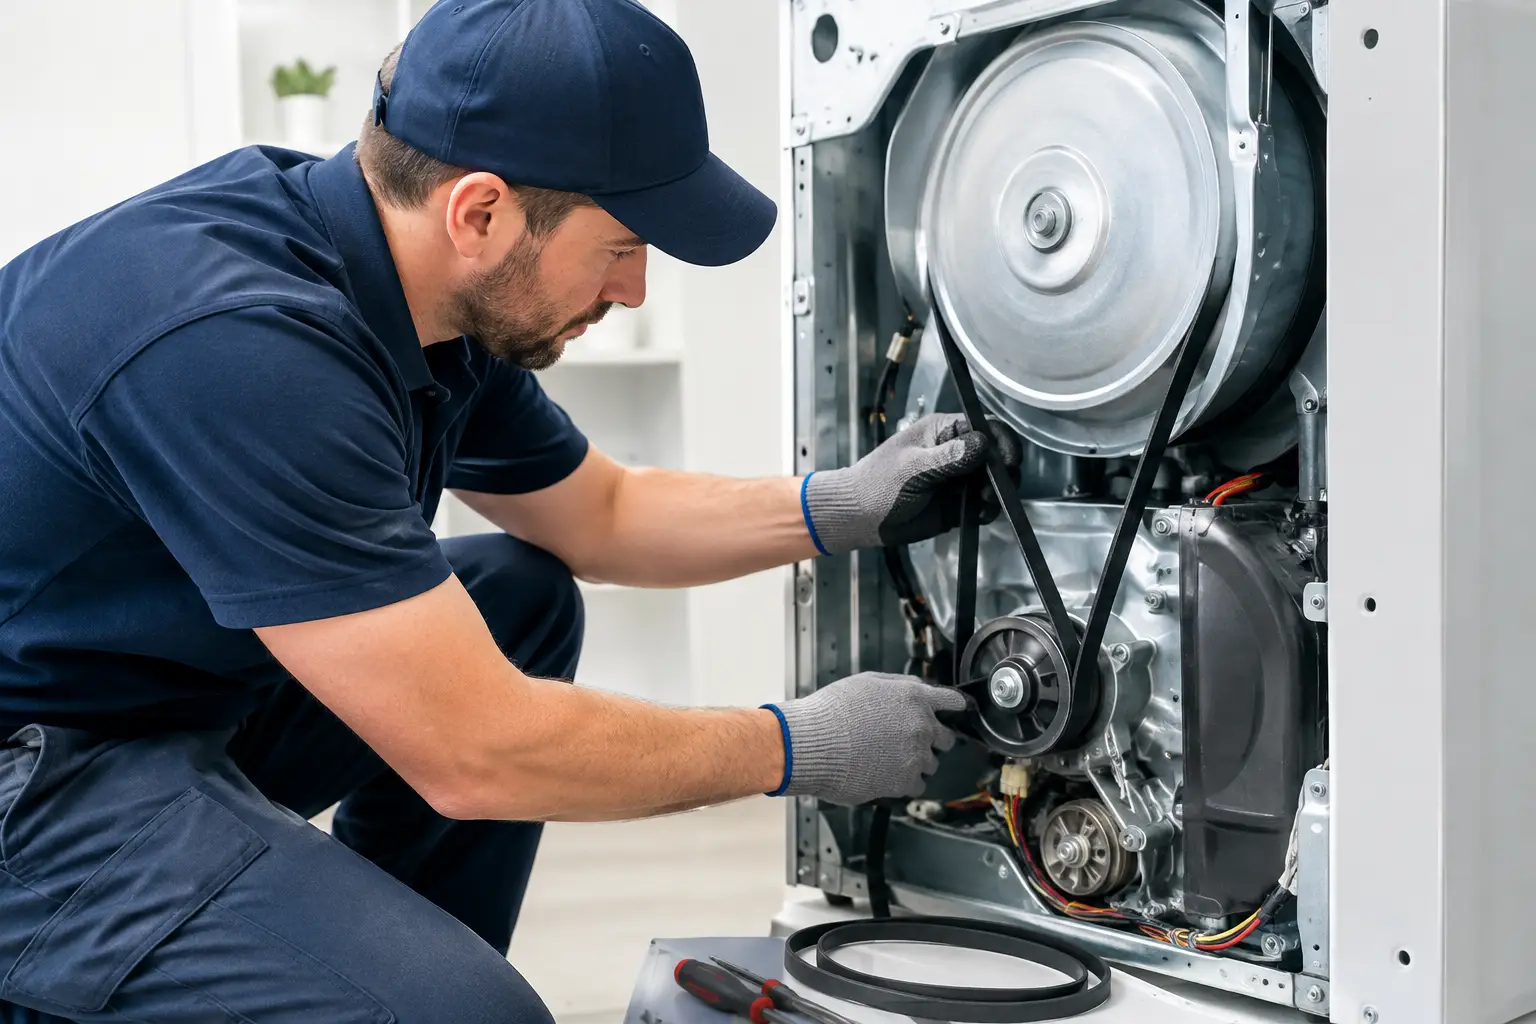
A dryer that runs but will not tumble creates a fast diagnostic decision point. Before you replace dryer drive belt components, confirm that the drum is not turning because the belt failed - not because of a seized support roller, a failed idler pulley, a broken motor switch, or an overloaded drum. The part is inexpensive. The diagnostic process is where technicians protect profit, prevent callbacks, and earn customer confidence.
For an aspiring appliance technician, this is a high-frequency laundry repair worth learning the right way. A belt replacement is not just a parts swap. It is a controlled teardown, a mechanical inspection, a correct reassembly, and a functional test that proves the machine can return to service safely.
Confirm the Belt Is Actually the Failure
Start with the customer complaint and observe the machine before opening it. A common report is, “The dryer sounds like it is running, but the clothes are still wet.” On many models, the motor will run while the drum remains stationary after a belt breaks. Some dryers use a belt switch that prevents the motor from operating when belt tension is lost, so do not treat one symptom as universal.
With the dryer disconnected from power, open the door and rotate the drum by hand. A drum that turns unusually freely, with little resistance, can point toward a broken or dislodged belt. A heavy scrape, thump, or locked drum points to a different mechanical issue that must be addressed before installing a new belt.
You also need the model number before ordering a part. Dryer belts vary by length, rib count, width, and routing. A belt that looks close can still be wrong. In the field, recording the complete model and serial information on the job ticket before teardown prevents wasted trips and inaccurate parts orders.
Safety and Setup Before You Replace a Dryer Drive Belt
Disconnect the power cord or open the dedicated breaker. For hardwired units, follow lockout/tagout procedures so no one can restore power while the cabinet is open. Shut off the gas supply if you are servicing a gas dryer, even though the belt system itself is mechanical. You may need to move the appliance, disconnect the vent, or access areas near the burner assembly.
Use gloves when handling cabinet panels. Sheet metal edges can be sharp, and accumulated lint can conceal screws or damaged wiring. Keep a magnetic tray or labeled containers nearby for fasteners. Take clear photos before disconnecting door-switch wires, control-panel connectors, or front-panel harnesses. Photos are not a substitute for understanding the circuit, but they are a practical reassembly safeguard.
The basic tools are usually a nut driver set, Phillips and flat-blade screwdrivers, needle-nose pliers, a flashlight, and a vacuum. Depending on the manufacturer, you may also need a putty knife to release the top-panel clips or a socket set for the front bulkhead and motor-access panel.
Access the Drum Without Creating New Problems
Dryer cabinet design varies. On many top-load access designs, you remove the lint screen and the screws beneath it, release the top, disconnect the door-switch harness, and remove the front panel. Other models use a rear service panel or a removable front bulkhead. Follow the machine’s actual construction rather than forcing a familiar procedure onto an unfamiliar platform.
Once the front support is removed, support the drum with one hand. The drum can shift and damage the felt seal, catch on the bulkhead, or pull on the rear bearing if it drops abruptly. Slide the old belt off if it is still intact, then lift the drum out carefully enough to inspect the components behind it.
This is the point where a technician separates a durable repair from a temporary one. A belt rarely fails without a reason. It may simply be worn after years of normal operation, but it can also be damaged by a dragging drum, seized idler pulley, rough roller, or debris lodged in the blower area.
Inspect the drum support rollers for flat spots, wobble, noise, and restricted movement. Spin the idler pulley and listen for bearing roughness. Check the rear drum bearing or glides, depending on the design. Look for a worn felt seal, loose baffles, foreign objects, or polished rub marks inside the cabinet. If the new belt runs against a failing pulley or roller, the customer may get a second failure and you get a callback.
Install and Route the New Belt Correctly
Place the new belt around the drum with the ribbed side against the drum surface. On most ribbed dryer belts, the grooves face the drum and the smooth side faces outward. Position the belt in the wear track left by the old belt, typically near the center of the drum. If the belt is installed backward or outside its normal track, it can walk, squeal, or wear prematurely.
Set the drum back onto its rear support and reinstall the front bulkhead or panel enough to hold the drum in position. Do not fully secure every cabinet screw until the belt is routed and you have verified that the drum is seated correctly.
The lower belt routing is the step that causes the most errors. Reach through the motor-access opening or lower front area and loop the belt around the motor pulley and idler pulley according to the machine’s design. The idler pulley creates spring tension. In a common configuration, the belt travels from the drum down around the motor pulley, then back around the idler pulley so the idler presses against the smooth side of the belt.
Do not guess at the path. A crossed belt, a belt wrapped around the wrong side of the idler arm, or a belt contacting the blower housing will fail quickly. Rotate the drum by hand several full turns after routing. Watch the belt track. It should remain centered, maintain tension, and turn the motor pulley without binding.
What a Correct Installation Feels Like
A properly installed belt gives the drum controlled resistance when you turn it by hand. The drum should not freewheel, but it should also not require excessive force. Listen for scraping and watch for side-to-side movement. If the drum is hard to rotate, stop and inspect the rollers, glides, felt seals, and rear support before reassembling the cabinet.
This manual rotation check is faster than discovering a problem after the cabinet is closed. It is also an example of a repeatable diagnostic workflow: verify the mechanical system before applying power.
Reassemble, Test, and Document the Repair
Reconnect every harness, reinstall panels, secure the lint screen housing if applicable, and reconnect the exhaust vent. A crushed, disconnected, or lint-packed vent can cause long dry times and overheating complaints that customers may mistake for a drum problem. Confirm the vent is properly supported and not restricted behind the dryer.
Restore power, then run a timed-dry test. Verify that the drum tumbles, the blower moves air, and there are no belt squeals, thumps, scraping sounds, or abnormal vibration. On electric dryers, confirm proper heat operation only after the mechanical test is successful. On gas dryers, observe ignition and flame cycling through the appropriate inspection opening without bypassing any safety features.
A professional closeout includes documenting the failed component, the replacement part used, related wear found, and test results. If rollers or an idler pulley show early wear but are still serviceable, explain that condition clearly to the customer. Do not oversell parts, but do not hide a predictable future failure either. That judgment is part of building a service business that earns repeat work.
When Belt Replacement Is Not the Right Repair
A new belt will not solve every no-tumble complaint. If the belt is intact and the drum does not move, test the motor circuit, door switch, start switch, centrifugal switch, and control output as the model requires. If the motor hums but will not start, a seized drum support, failed motor, weak start circuit, or obstruction may be involved.
Likewise, repeated belt breakage demands a root-cause inspection. Installing another belt without correcting a seized idler or worn drum support turns a repair into a short-term patch. The most valuable technicians do not just identify the broken part. They explain why it broke and verify that the complete system can operate under load.
Belt replacement is a foundational job, but the habits behind it scale into every appliance category: make the unit safe, confirm the failure, inspect related components, test the completed repair, and document the outcome. Appliance Repair Academy trains that field-ready process through structured coursework, scenario-based simulations, and technician-focused diagnostic practice. Explore the Academy’s training resources and use the companion diagnostic app to build the habits that turn basic repairs into paid, reliable service work.
Keep reading
How to Become an Appliance Repair Technician
Read moreAppliance Repair Certifications
Read moreAppliance Repair Technician Salary
Read moreLearn this the repeatable way
The Appliance Repair Academy is a 12 week online certification taught by a working technician. Tuition is $949 and covers laundry, refrigeration, cooking, and dishwasher systems, with the Appliance Repair AI diagnostic app included for a full year.
Explore the program