Oven Heating Repair and the Heat Circuit
Learn oven heating repair through a technician workflow: verify voltage, test elements and sensors, read control faults, and document a safe fix on site.
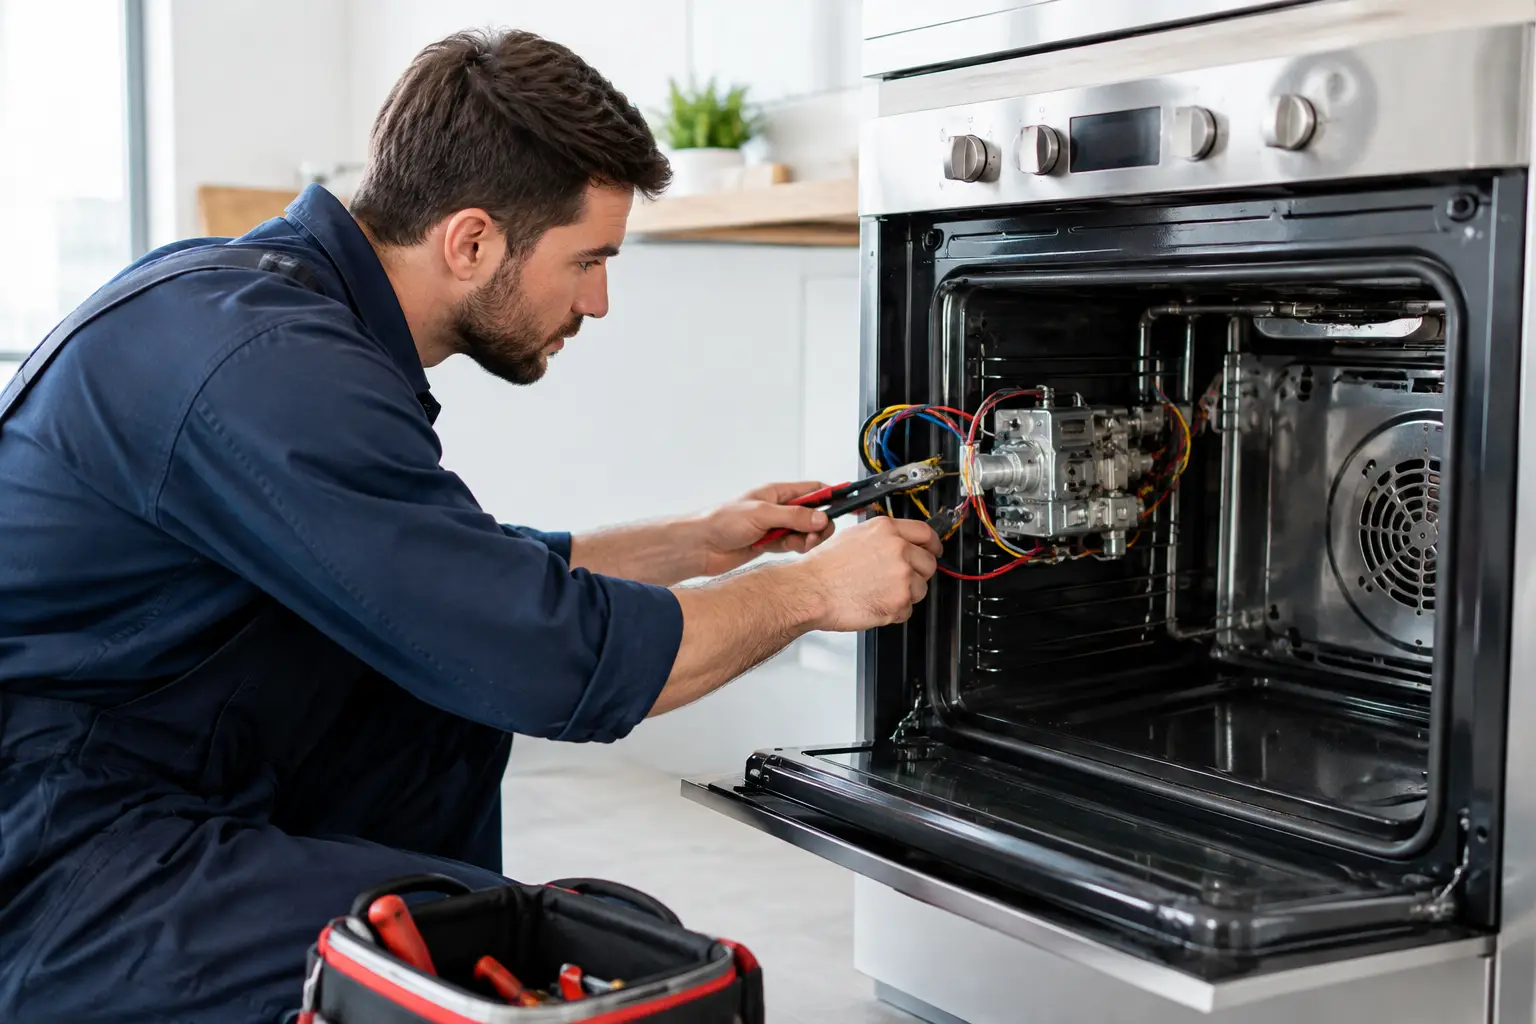
A customer says the oven takes an hour to reach 350°F, burns food on one side, or will not heat at all. That is not a guess-and-replace-parts call. Oven heating repair starts with a repeatable diagnostic process: confirm the complaint, verify the incoming power, test the heating circuit, and prove the failed component before quoting the job.
For an appliance technician, cooking-equipment calls can be profitable because the failure may be straightforward, but the diagnosis still carries real risk. An electric range can have live 240-volt circuits. A gas oven adds ignition and combustion concerns. The technician who works safely, uses a meter correctly, and documents the repair earns trust while avoiding expensive callbacks.
Why oven heating failures are a technician opportunity
Ovens are used hard, especially around holidays, family events, and busy rental turnovers. Homeowners usually notice a heating issue immediately because dinner plans stop when the appliance cannot preheat. That urgency creates demand, but it also rewards technicians who can explain what failed in plain language.
A weak bake element, open broil element, failed igniter, inaccurate sensor, damaged wiring harness, or bad control relay can create similar symptoms. Parts changing is not diagnosis. A technician needs to identify whether the appliance has the correct supply voltage, whether the control is sending power, and whether the load can complete the circuit.
That process is valuable beyond one oven repair. The same electrical fundamentals apply across dryers, dishwashers, microwaves, refrigeration controls, and other major appliances. Learning to read a wiring diagram, isolate a circuit, and compare meter readings to the service information creates the kind of skill that supports paid employment or an independent repair business.
Oven heating repair begins with safe verification
Before removing panels or pulling wires, confirm the model number and the exact operating complaint. Ask whether the oven fails in bake, broil, convection, or every cooking mode. Find out whether the display shows an error code, whether the range recently lost power, and whether the customer noticed sparking, burning smells, or an unusual delay before ignition.
Then follow safe work practices. Disconnect power before resistance checks, use lockout/tagout procedures when appropriate, and verify the circuit is de-energized with a properly rated meter. Do not assume that switching an oven off at the control panel makes it safe. The terminal block and other components may still have line voltage.
With electric ranges, supply voltage is a frequent starting point. Many ovens need two 120-volt legs to produce approximately 240 volts across the heating circuit. A unit may power its clock, light, and surface indicators while still lacking one side of the supply. That is why a glowing display does not prove the oven has proper voltage.
A technician should inspect the power cord, receptacle, terminal block, and wiring for heat damage after safely disconnecting the unit. Loose terminal connections can create resistance, overheating, intermittent operation, and damaged conductors. If the fault is upstream in the home electrical system, document the findings clearly and advise the customer that a qualified electrician may be needed.
The electric oven heat circuit: what to test
Electric ovens use a control system to energize one or more heating elements. Bake mode commonly uses the lower element and may cycle the broil element during preheat. Broil mode uses the upper element. Convection modes can introduce a fan and different control logic, so the exact sequence depends on the model.
A visual inspection is useful but not conclusive. A bake element with a visible split, blister, or burn-through is an obvious failure. However, an element can look normal and still be electrically open. With power disconnected and at least one wire removed when the circuit design requires it, test the element for continuity and resistance. An open reading indicates a failed element.
If the element tests good, move upstream. During a powered test, only when trained and using proper electrical safety practices, verify whether the element receives the commanded voltage. If the control calls for bake but voltage never reaches a known-good element, the fault may be a relay, electronic oven control, selector switch, thermal cutoff, wire connection, or harness issue.
Do not overlook the high-limit thermostat or thermal fuse where applicable. These protective components can interrupt the heating circuit after an overtemperature event. The root cause still matters. If a failed cooling fan, blocked vent path, welded relay, or control fault caused the overheat condition, replacing only the safety device can lead to a repeat failure.
The oven sensor can create a temperature complaint
When an oven heats but cooks too hot, too cool, or cycles erratically, test the oven temperature sensor and inspect its connector. Many common sensors measure around 1,080 ohms at room temperature, but technicians must use the model-specific technical data rather than relying on a universal number.
A sensor may be out of range, intermittently open when hot, or affected by a damaged harness. The control board can also misread a good sensor. This is where a measured value, a wiring diagram, and an informed comparison prevent unnecessary control-board replacement.
Calibration can be appropriate on some models after confirming the sensor and heating system are operating correctly. Calibration is not a shortcut for a failed component. If the oven cannot maintain temperature because an element drops out or a relay sticks, an offset adjustment will not solve the real problem.
Gas oven heating failures require a different workflow
Gas ovens typically use a glow-bar igniter or a direct spark ignition system. On many glow-bar designs, the igniter and gas valve operate as a matched circuit. The igniter may glow orange yet still draw insufficient current to open the gas valve. That is why visual inspection alone is not enough.
A technician must identify the ignition system, observe the sequence of operation, and test according to the manufacturer’s specifications. A delayed ignition, repeated clicking, raw gas odor, or failure to ignite requires immediate attention. Stop the diagnostic process if gas is present where it should not be, follow safety procedures, and do not create an ignition source.
Common gas oven complaints include a weak or failed igniter, defective gas valve, failed spark module, dirty burner ports, faulty flame sensor, or control issue. The correct repair depends on the design. Replacing an igniter because it glows is a classic callback risk when the actual failure is in the control circuit or gas supply.
A field workflow that prevents parts-changer repairs
A professional oven heating repair workflow follows evidence, not hunches. On a real service call, the process should look like this:
- Confirm the symptom in the correct mode, including the customer’s reported temperature or timing issue.
- Verify the appliance model, electrical or gas supply, and visible condition of elements, connectors, harnesses, and terminals.
- Use the wiring diagram to trace the heat circuit from supply to control, safety devices, load, and return path.
- Perform resistance tests only with power disconnected, then use live voltage tests only when the technician is trained and conditions are safe.
- Record readings, failed parts, repair actions, and operational results on the job ticket before closing the call.
The last step matters commercially. A clear customer report can explain that the bake element tested open, the terminal block showed heat damage, or the sensor resistance was out of specification. That documentation supports the quote, reduces confusion, and gives the customer confidence that the repair was based on testing.
Build the skills behind confident diagnostics
Oven repairs reward technicians who understand circuits instead of memorizing symptoms. You need to recognize series and parallel paths, use a multimeter without damaging the meter or the appliance, interpret wiring references, and know when a control-board diagnosis has been proven rather than assumed.
That is the training approach at Appliance Repair Academy. Students progress from safety and electrical testing into cooking equipment, diagnostic workflows, customer documentation, and business operations. More than 80 scenario-based simulations help build decision-making before a technician faces a live customer call, while the included Appliance Repair Assistant AI app supports field work with photo-based fault detection, error-code lookup, wiring references, multimeter guidance, job ticketing, and customer-ready reporting.
The career advantage is not simply knowing how to replace a bake element. It is being the technician who can explain why it failed, test the surrounding circuit, complete the repair safely, and leave behind a professional record. That is the difference between chasing isolated jobs and building a service reputation customers recommend.
Explore the Appliance Repair Academy content page for technician-first training resources, and visit the Appliance Repair AI app download page to see how AI-assisted diagnostics can support your hands-on workflow.
Keep reading
How to Become an Appliance Repair Technician
Read moreAppliance Repair Certifications
Read moreAppliance Repair Technician Salary
Read moreLearn this the repeatable way
The Appliance Repair Academy is a 12 week online certification taught by a working technician. Tuition is $949 and covers laundry, refrigeration, cooking, and dishwasher systems, with the Appliance Repair AI diagnostic app included for a full year.
Explore the program