Multimeter Testing for Appliances Made Practical
Learn multimeter testing for appliances with a safe, repeatable workflow for diagnosing voltage, continuity, resistance, and common appliance faults safely.
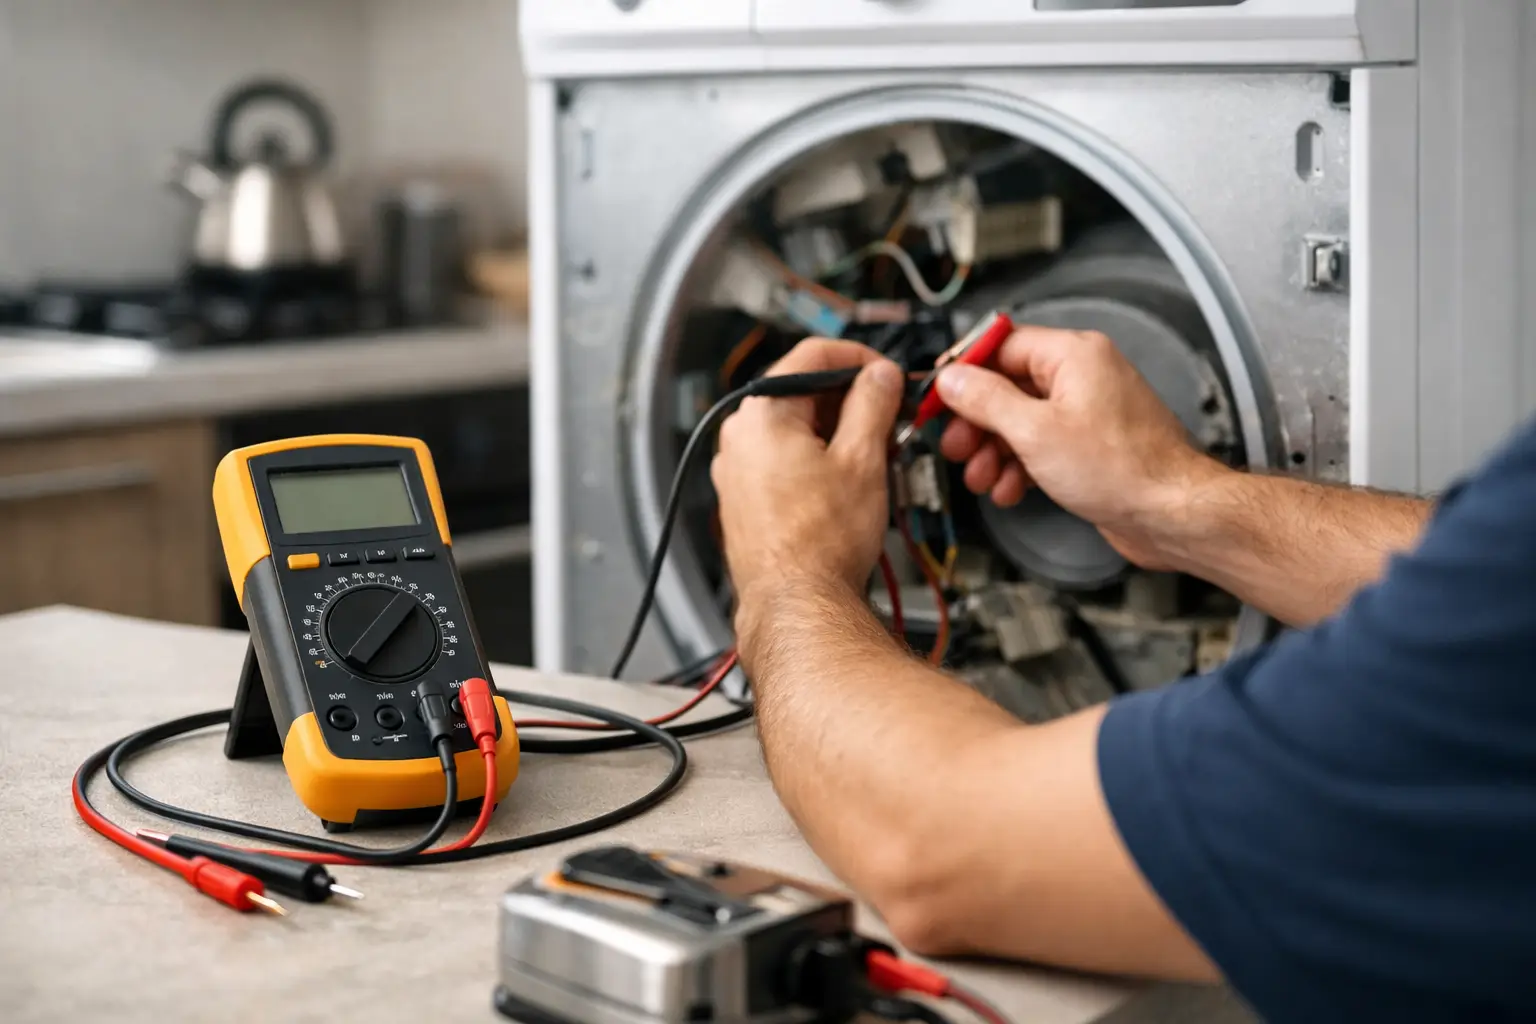
A no-heat dryer, a dead refrigerator control, and a dishwasher that will not fill can all look like completely different service calls. In the field, multimeter testing for appliances gives you the same advantage on every one: proof. Instead of swapping parts based on a symptom, you can verify where power stops, which component has failed, and whether the control is actually sending the command.
That skill turns a beginner into a technician customers trust. It also protects your profit. A correct meter reading can prevent a wasted trip, an unnecessary part order, and the uncomfortable conversation that follows when a repair does not solve the problem.
Start With Safety and the Right Meter Setup
A multimeter is only as useful as the person holding it. Appliance circuits can expose you to 120 volts, 240 volts, stored electrical energy, sharp cabinet edges, hot surfaces, and moving components. Before opening a cabinet, identify the energy source and use lockout/tagout procedures when the machine will be serviced with power removed.
For most appliance work, use a quality digital multimeter with AC voltage, resistance, continuity, and diode-test functions. A meter with capacitance, frequency, and temperature capability can be useful, but those extra functions do not replace sound diagnostic process. Confirm that your test leads have intact insulation, secure probe tips, and the correct CAT safety rating for the work you perform.
Just as important, check your meter before trusting it. Test a known live source before and after a live-voltage measurement. This is called the live-dead-live method. It confirms the meter was working before the test and did not fail during it. A display that reads zero is not evidence that a circuit is safe until you have verified the meter itself.
Never measure resistance, continuity, or diode values on an energized circuit. Disconnect power, verify the circuit is de-energized, and discharge capacitors where applicable. Live voltage testing has its place, but it should be controlled, purposeful, and limited to the reading you need.
The Four Readings That Drive Appliance Diagnostics
Most appliance faults can be narrowed down with four categories of measurements: voltage, continuity, resistance, and voltage drop. Each answers a different question.
Voltage: Is Power Present Where It Should Be?
Voltage testing tells you whether a component is receiving electrical potential. Set the meter to AC volts for household appliance supply circuits. At a standard US outlet, you should generally see about 120 VAC from hot to neutral and hot to ground. At a 240-volt dryer or range connection, you should generally see about 240 VAC from one hot leg to the other, plus about 120 VAC from each hot leg to neutral.
Those readings matter because a dryer may have enough power for the drum motor while lacking one leg needed for the heating circuit. A customer may report “the dryer runs but has no heat,” and a quick supply-voltage test can prevent you from condemning a heating element that is not the real problem.
Voltage readings must be taken at meaningful points in the circuit. If a dishwasher will not fill, testing voltage at the water inlet valve during the fill command can show whether the control and safety switches are delivering power. If voltage is present and the valve does not open, the valve becomes a stronger suspect. If voltage is absent, move upstream through the circuit instead of replacing the valve.
Continuity: Is the Circuit Path Closed?
Continuity testing checks whether electricity can travel through a path when power is off. Many meters beep when resistance is low, making continuity useful for quickly checking fuses, door switches, harnesses, thermal cutoffs, and simple switches.
The beep is convenient, but do not let it become your whole diagnosis. A continuity tone only indicates a low-resistance path. It does not prove a component can carry current under load, and it does not tell you whether the component is operating at the correct temperature or pressure. Use continuity as an initial check, then match the result to the wiring diagram and the appliance’s operating conditions.
Resistance: Does the Component Match Its Design?
Resistance, measured in ohms, helps evaluate loads such as heating elements, solenoid coils, thermistors, motors, and compressor windings. The expected value depends on the component and model, so service data and wiring references matter.
A heating element with infinite resistance is open. A reading near zero on a component that should have substantial resistance may indicate a short. But acceptable resistance does not always clear a part. A dryer heating element can show a reasonable resistance value and still be grounded to its metal housing. Test between each element terminal and the element housing. Any measurable continuity to ground can point to a grounded element.
Thermistor diagnostics require extra care. Their resistance changes with temperature, so a single reading means little unless you know the temperature of the sensor and the manufacturer’s resistance chart. This is why technicians record the reading, ambient condition, and test location rather than writing “thermistor good” on a job ticket without supporting data.
Voltage Drop: Can the Circuit Carry the Load?
Voltage drop testing is one of the most valuable next-level habits in appliance repair. A connection can appear fine during a continuity test but fail when the appliance draws current. Corroded terminals, damaged wire strands, and burned relay contacts add resistance to the circuit. Under load, that resistance steals voltage.
For example, a surface element may receive voltage at the control but heat weakly because a terminal block connection is burned. Testing across the suspect connection while the circuit is energized and commanded on can reveal the drop. The exact acceptable value depends on the circuit, but a meaningful drop across a closed switch, connector, or wire points to unwanted resistance.
A Repeatable Multimeter Testing Workflow
Professional diagnostics are not a collection of random tests. Use a consistent sequence that helps you make a repair decision quickly and document it clearly.
Start by confirming the complaint. Ask what the appliance does, what it fails to do, when the issue began, and whether the failure is constant or intermittent. Then inspect before testing. Look for loose connectors, damaged harnesses, moisture, heat discoloration, tripped breakers, obstructed airflow, and error codes.
Next, find the circuit that owns the failed function. A wiring diagram tells you the power source, switches, control outputs, loads, and neutral or return path. Determine whether the component should be receiving voltage in the current operating state. That prevents a common mistake: testing a part when the appliance has not actually commanded it on.
Test supply power first, then move through the circuit in order. On a no-heat electric dryer, that may mean verifying 240 VAC at the terminal block, checking voltage through the thermal cutoff and high-limit thermostat, then testing the element and its ground isolation with power removed. On a refrigerator that is warm, it may mean verifying the control output to the evaporator fan, checking fan motor resistance only after disconnecting it, and confirming the thermistor reading against the proper temperature chart.
Finally, retest after the repair. Do not stop at “new part installed.” Run the function, verify the reading that was previously missing or incorrect, and confirm the original complaint is resolved. That final check is what makes your diagnosis repeatable rather than lucky.
Common Meter Mistakes That Cost Technicians Time
The fastest way to lose confidence in a reading is to use the wrong setting or test point. These mistakes show up constantly on early service calls:
- Measuring ohms on a live circuit, which can damage the meter and produce misleading results.
- Leaving the red lead in the high-amp input after a current test, then attempting a voltage measurement.
- Testing a component while it remains connected to the full circuit, allowing parallel paths to distort resistance readings.
- Calling a control board bad before verifying supply voltage, neutral, harness integrity, and the load it controls.
- Using continuity alone to clear a high-current connection that fails only under load.
The fix is not memorizing every appliance diagram. It is building the habit of asking what the reading should be, where it should be measured, and what the result eliminates.
Build a Skill That Pays on Every Service Call
Multimeter work is where electrical fundamentals become paid diagnostic ability. You do not need to guess whether a door switch, defrost heater, drain pump, bake element, or control output is the problem. You need a safe test plan, the right reference information, and the discipline to follow the circuit.
Appliance Repair Academy teaches that process through structured electrical training, scenario-based diagnostics, and the same practical workflow used on real service calls. Explore Academy content on the Appliance Repair Academy website, and download the Appliance Repair Assistant AI app for wiring references, multimeter guidance, and field-ready diagnostic support.
The meter will not repair the appliance for you. It will give you the evidence to make the repair with confidence, document the result, and move to the next call ready to earn.