Electrical Safety for Appliance Repair Techs
Electrical safety protects appliance repair technicians from shock, burns, and bad calls. Learn the field habits that make every diagnosis safer onsite.
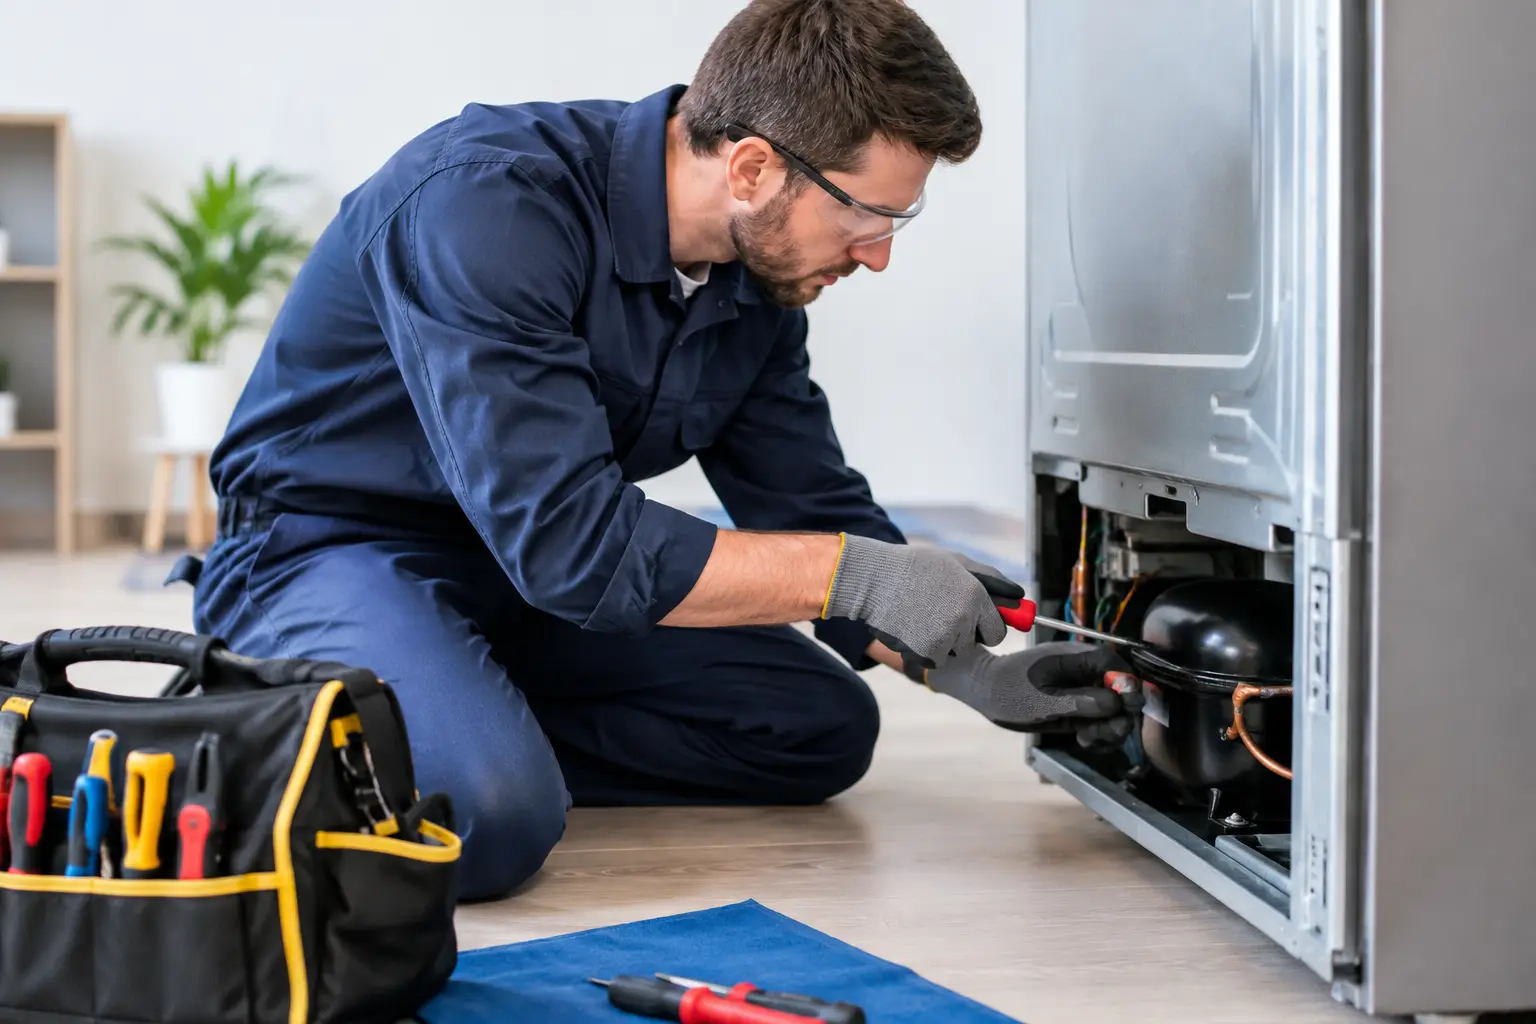
A refrigerator can look dead and still have live voltage at the terminal block. A dryer can be unplugged while its capacitor continues to hold a dangerous charge. A microwave can be sitting on a bench with a high-voltage circuit that does not forgive casual troubleshooting. That is why electrical safety is not a chapter you finish before moving on to real repairs. It is the operating standard behind every diagnosis, every meter reading, and every customer visit.
For an appliance repair technician, safety also protects your earning power. One rushed decision can cause an injury, destroy an expensive control board, create a fire risk, or turn a straightforward service call into a liability problem. Technicians who build disciplined electrical habits work faster over time because they know what to verify, what to isolate, and when to stop.
Electrical Safety Starts Before the Tool Bag Opens
The first safety decision happens before you remove a panel. Look at the appliance, the surrounding area, and the complaint. A dishwasher leak near an outlet, a range with a burned cord, or a washer in a cramped laundry closet changes the risk level before diagnostics even begin.
Start by identifying the power source. Is the appliance supplied by a standard 120-volt receptacle, a 240-volt circuit, a hardwired connection, or more than one source of power? Some appliances combine line voltage with low-voltage control circuits. Others, including certain refrigerators and laundry machines, can retain energy in capacitors after the plug is removed.
Do not assume a switched-off appliance is de-energized. A control set to OFF is not the same as an unplugged machine. A tripped breaker is not confirmation that every conductor is dead. A customer saying, "I unplugged it" is useful information, but it is not your verification procedure.
Your procedure should be simple: disconnect power, control the disconnect so it cannot be restored unexpectedly, then verify the absence of voltage with a properly functioning meter. In commercial settings, that may mean formal lockout/tagout. In residential service, it may mean keeping the plug in your possession, applying a lockout device where appropriate, and communicating clearly with everyone nearby.
Verify Your Meter Before You Trust It
A multimeter is one of the most valuable tools in appliance repair. It is also one of the easiest tools to misuse. A meter on the wrong function, a damaged lead, an incorrect input jack, or an underrated meter can put a technician directly in harm's way.
Before testing a live circuit, inspect the meter body, probes, insulation, and lead strain relief. Confirm that the leads are in the correct ports and that the dial is set for the measurement you intend to take. For voltage checks, use a meter rated for the environment and voltage category you may encounter. Cheap or damaged equipment is not a bargain when you are testing a 240-volt dryer receptacle or a range terminal block.
Use the live-dead-live method whenever practical. First, test your meter on a known live source. Next, test the circuit you believe is de-energized. Then test the known source again. This confirms both that the circuit is actually dead and that your meter did not fail during the check.
A common early-career mistake is measuring resistance or continuity on an energized circuit. Resistance testing sends a small voltage from the meter through the component. If line voltage is present, you can damage the meter, blow its fuse, or create a dangerous event. Disconnect power and verify zero voltage before checking an igniter, heater, thermal fuse, thermistor, motor winding, or wire harness for continuity.
Know What You Are Measuring
Voltage is measured across two points. Current is measured in series or with a clamp meter around one conductor. Resistance is measured only with power removed. Those fundamentals sound basic, but service calls expose technicians to confusing wiring layouts, intermittent faults, and pressure to finish quickly.
Slow down long enough to identify the two points in your test. On a 240-volt appliance, measuring line to neutral may give you roughly 120 volts, while line to line should give you roughly 240 volts. A missing leg can leave lights or controls working while a heater, compressor, or motor will not run. That is a diagnostic clue, but only if you understand the circuit and test it safely.
Respect Stored Energy and High-Voltage Systems
Unplugging an appliance eliminates the supply voltage. It does not always eliminate stored energy. Start capacitors, run capacitors, inverter boards, and microwave high-voltage sections require specific handling procedures.
Microwaves deserve special attention. Their high-voltage capacitor can retain a hazardous charge even after the unit is unplugged. This is not a component to probe casually or discharge with an improvised screwdriver. Follow manufacturer procedures, use appropriate insulated equipment, and recognize when a repair is outside your current training or authorization. A technician who knows when to pause is protecting both the customer and the business.
Modern inverter-driven appliances introduce another layer of caution. Variable-speed compressors and motors may use DC bus voltage that differs from the incoming AC supply. The board may have warning labels, but the label is not the lesson. Read the wiring diagram, identify the circuit type, wait the required discharge time, and verify before touching connectors.
Build a Safe Diagnostic Workflow
Good electrical safety is not about being fearful around electricity. It is about having a repeatable sequence that reduces guesswork. The strongest technicians do not open a machine and immediately start unplugging connectors. They collect evidence first.
Begin with the customer complaint and a visual inspection. Look for heat damage, rubbed wiring, loose terminals, water intrusion, rodent damage, burned spades, and incorrect previous repairs. Check the power supply before condemning an appliance component. A failed outlet, loose neutral, reversed connection, or partially tripped breaker can imitate an appliance failure.
Then use the wiring diagram to understand the circuit path. Identify the load, the control device, safety switches, connectors, and return path. With power removed, inspect and test components that can be safely evaluated for continuity or resistance. Restore power only when a live test is necessary, and keep your hands, body position, and test leads under control.
When a live test is required, avoid leaning against grounded surfaces. Keep the work area dry. Remove metal jewelry that could bridge contacts. Use one hand when the situation calls for it, keeping the other away from conductive surfaces. Do not work alone in a high-risk setting when support is available.
These habits can feel deliberate at first. After enough disciplined repetitions, they become the way you work. That is how you reduce callbacks, prevent damaged boards, and make accurate diagnoses without gambling on your next move.
The Job Site Is Part of the Electrical System
Electrical risk is not limited to what is behind an appliance panel. The job site matters. Kitchens may have wet floors. Laundry rooms may have poor lighting, cluttered access, or extension cords running where they should not. Garages and outdoor installations can introduce moisture, corrosion, and damaged receptacles.
Set up the work area before you start. Create enough light to read wire colors and terminal labels. Keep tools organized so meter leads do not snag on sharp sheet metal. Move pets, children, and customers away from the work zone. If an appliance must be pulled out, protect flooring and watch for pinched cords, gas connections, water lines, and unstable cabinetry.
Use insulated hand tools where appropriate, but do not treat insulation as permission to touch energized parts. Personal protective equipment also has a role. Safety glasses protect against debris and unexpected arcs. Proper footwear improves footing in wet or crowded work areas. The right PPE depends on the task, but no gear replaces de-energizing equipment whenever possible.
Know When to Stop and Escalate
A technician is not paid to prove bravery. You are paid to restore equipment safely and document what you found. Stop work when you encounter a damaged service entrance, evidence of a serious branch-circuit issue, an overheated panel connection, persistent arcing, or a condition outside appliance-level repair.
Document the finding clearly. Explain whether the appliance is unsafe to operate, what was verified, and what type of licensed electrical correction may be needed. Customers respect technicians who can separate an appliance defect from a house-power problem. That clarity prevents arguments, protects the customer, and keeps you from owning a repair that was never yours to make.
Electrical skill becomes career leverage when it is paired with judgment. Anyone can swap a part. A field-ready technician can read a diagram, test a circuit correctly, recognize a hazardous condition, and leave behind documentation that supports a professional repair decision.
If you want to build those habits before they are tested on a live customer call, explore Appliance Repair Academy content and the companion AI-powered diagnostic app download resource. Structured training, scenario-based practice, wiring references, and guided multimeter workflows help turn electrical knowledge into safe, paid field work.
Keep reading
How to Become an Appliance Repair Technician
Read moreAppliance Repair Certifications
Read moreAppliance Repair Technician Salary
Read moreLearn this the repeatable way
The Appliance Repair Academy is a 12 week online certification taught by a working technician. Tuition is $949 and covers laundry, refrigeration, cooking, and dishwasher systems, with the Appliance Repair AI diagnostic app included for a full year.
Explore the program